Key Takeaways
- Leather keychain patterns provide detailed guides for shaping, folding, and assembling leather accessories.
- These patterns can be printed or used digitally for convenient crafting.
- They help transform leather scraps into functional and meaningful everyday items.
- Leather keychains crafted from these patterns develop unique character through daily use.
Table of Contents
- Why Leather Keychain Patterns Matter for Everyday Carry Makers
- Core Basics: What Exactly Is a Leather Keychain Pattern?
- Choosing the Right Leather Keychain Pattern for Your Skill Level & Use Case
- Leather Types & Thickness for Keychain Patterns: Feel, Strength, and Patina
- Keychain Pattern Formats: Paper, PDF, SVG & Laser-Ready Files
- Hardware Basics: Designing Patterns Around Rings, Rivets & Clips
- Step-By-Step: Making a Simple Riveted Leather Key Fob from a Free Pattern
- Assembly & Finishing Your Riveted Key Fob
- Designing Your Own Leather Keychain Pattern from Scratch
- Working with Digital Patterns: Printing, Scaling, and Laser Cutting
- Decorative & Personalization Patterns: Monograms, Stamping & Tooled Designs
- Finishing Techniques: Edges, Dye, and Hardware That Age Beautifully
Why Leather Keychain Patterns Matter for Everyday Carry Makers
Quick Answer: Leather keychain patterns are printable or digital guides showing shape outlines, hole placement, fold lines, and hardware positioning for crafting small leather accessories. These templates transform scraps into meaningful everyday companions that develop character through daily use.
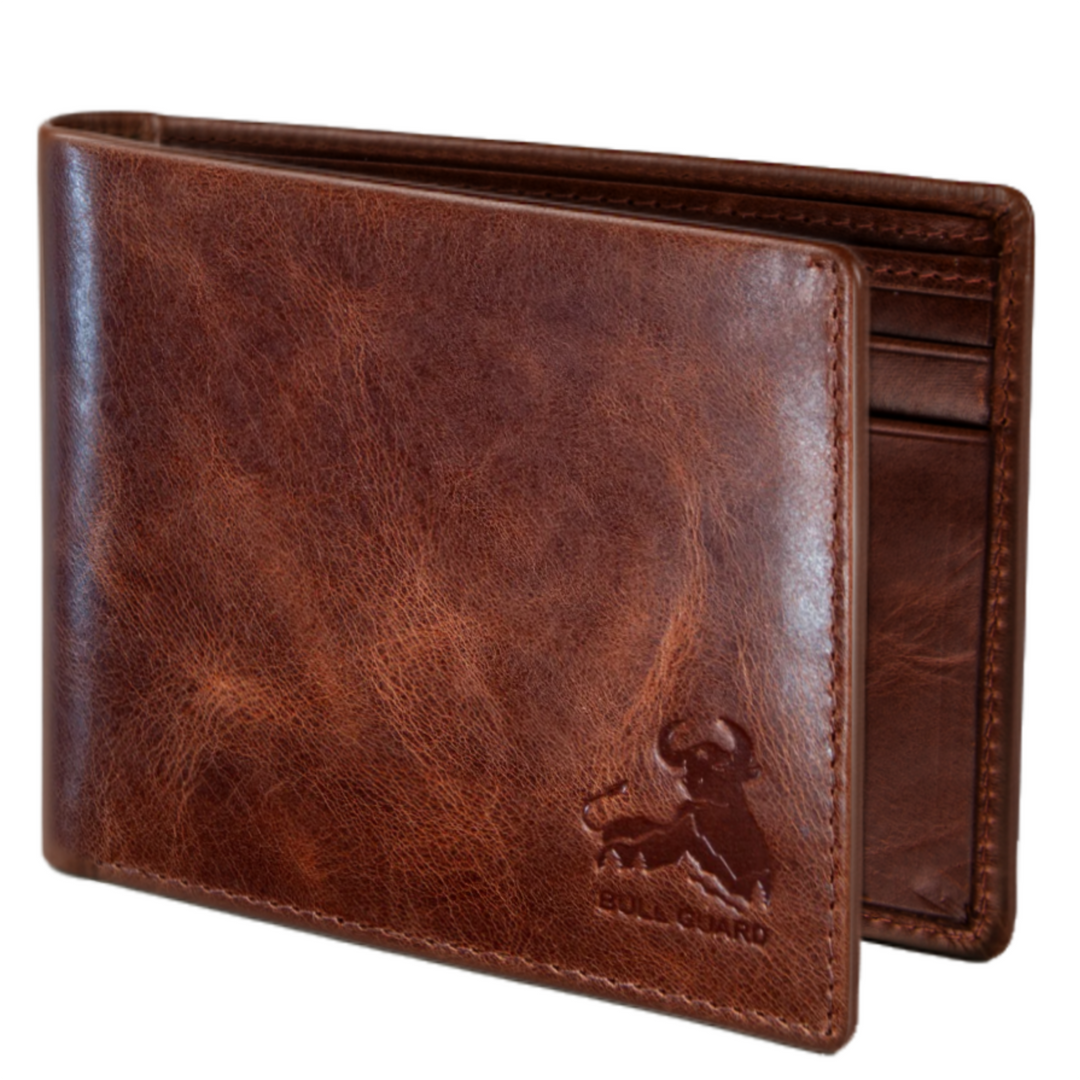
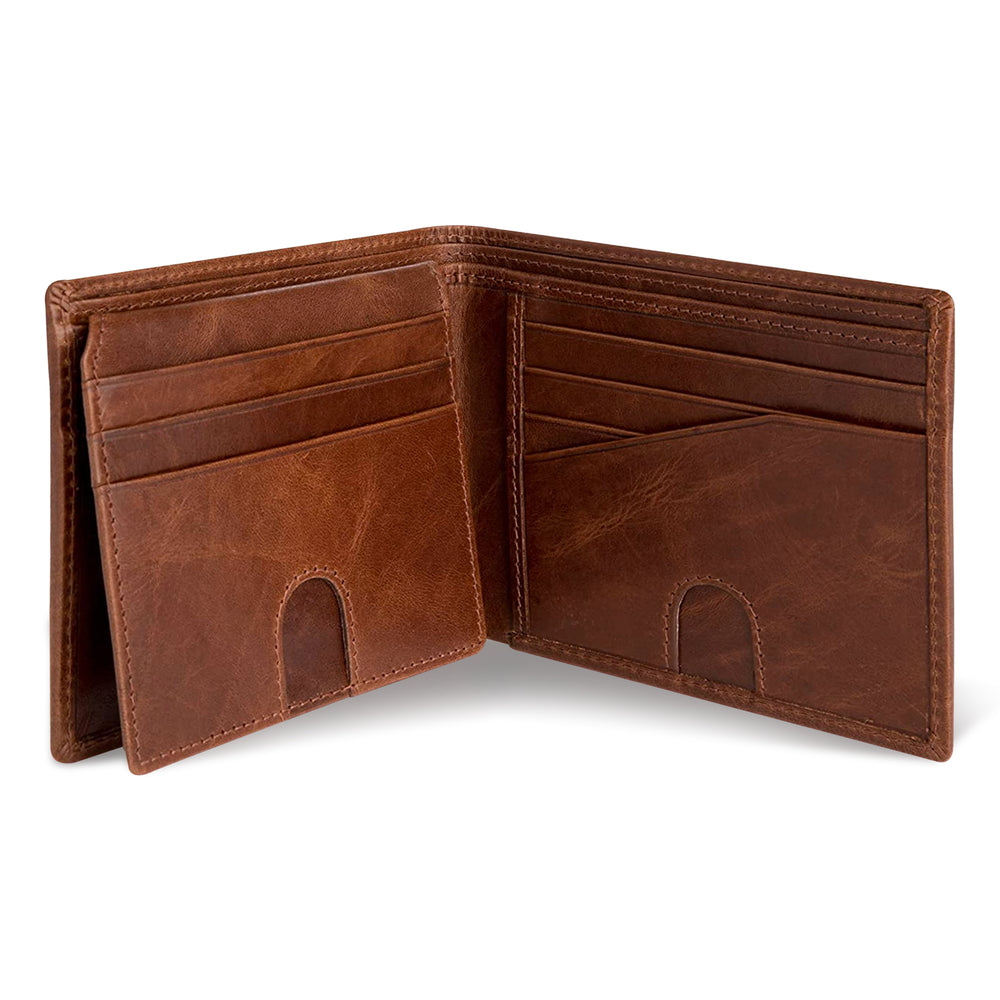
Every master leatherworker started somewhere, and leather keychain patterns offer the perfect training ground. These small projects teach essential skills: clean edge finishing, precise hole punching, and hardware installation. More importantly, they introduce you to how quality leather transforms through daily carry, developing the rich patina that makes each piece uniquely yours. Best selling gifts like handcrafted wallets and accessories often begin with these foundational skills.
At Bull Guard, I believe every leather creation should be an everyday companion that grows stronger with use. Whether you're crafting your first key fob or designing custom charms to complement our crossbody purses and wallets, these patterns connect you to the timeless craft of functional leather goods that carry life boldly. Card cases and other small leather goods are excellent next steps once you've mastered basic keychain projects.
Core Basics: What Exactly Is a Leather Keychain Pattern?

A leather keychain pattern contains five essential elements: the cutting outline, hole spacing (typically 3-4mm between stitch holes), hardware placement marks, fold lines, and grain direction arrows. Professional patterns distinguish between single-layer designs for quick builds and double-layer patterns requiring precise alignment.
Pattern Terminology Quick Reference:
- Key fob - Short loop attached to keys, usually 80-120mm total length
- Wristlet - Longer strap worn around wrist, 150-200mm with adjustable loop
- Lanyard - Extended cord-style carrier for badges or tools
- Charm - Decorative pendant attached to bags or other accessories
- Tag - Flat identification piece with stamped or tooled details
Understanding how patterns translate to finished size prevents costly mistakes. Account for a 0.5-1mm trim margin during final shaping, and remember that leather thickness dramatically affects feel, a 2oz single layer creates a flexible tag, while 5oz leather produces a substantial fob that maintains its shape through years of pocket carry.
Quality patterns specify recommended leather weight ranges and show actual-size photos of finished pieces. This transparency helps you visualize how your chosen leather will perform in the final design, ensuring your keychain becomes a trusted companion rather than a disappointing experiment.
Choosing the Right Leather Keychain Pattern for Your Skill Level & Use Case
Beginner patterns feature 1-2 pieces, simple geometric shapes with curves no tighter than 10mm radius, and single hardware types like split rings with one rivet. Advanced designs incorporate multiple layers, shaped animal or logo charms, combined stitching and rivets, and specialized techniques like tooling or carving.
Match your pattern to daily carry needs. Everyday pocket carry demands compact key fobs under 120mm total length that won't create bulk or snag on fabric. Hands-free activities, dog walking, errands, gym sessions, benefit from wristlets and mini-lanyards in the 150-180mm range. Identity expression calls for charm and tag patterns featuring initials, icons, or meaningful symbols.
Smart selection criteria streamline success: limit first projects to 10 stitch holes per side maximum, choose patterns clearly labeling recommended leather thickness ranges, and verify the design includes finished example photos. Starting with these parameters builds confidence while developing the hand skills needed for larger projects like Bull Guard-style wallets and crossbody companions. For more on how to select a durable leather wallet for everyday use, check out our in-depth guide.
Consider your tools honestly. Hand-stitched patterns require awls, needles, and thread but offer refined finishes and complete control over construction. All-riveted designs need punches and setters but enable rapid builds with rugged, industrial aesthetics that complement outdoor adventures and urban exploration.
Leather Types & Thickness for Keychain Patterns: Feel, Strength, and Patina
Full-grain and top-grain leathers both excel in keychain applications, but their characteristics differ significantly. Full-grain develops more pronounced patina and accepts tooling beautifully, while top-grain offers consistent surface texture and often superior edge finishing. Think of leather quality like restaurant cooking, the "cut" matters, but the tannery's expertise, processing methods, and finishing determine the final result.
Vegetable-tanned leather excels for stamping, carving, and monogram work, aging into rich honey and mahogany tones through daily handling. Chrome-tanned leather provides immediate softness and flexibility, ideal for wristlets and lanyards that bend repeatedly. Both develop character through use, but veg-tan creates more dramatic transformation while chrome-tan maintains consistent appearance longer.
| Application | Recommended Thickness | Best Leather Type | Expected Feel |
|---|---|---|---|
| Simple flat fob | 3-4 oz (1.2-1.6mm) | Veg-tan or chrome-tan | Firm but flexible |
| Folded loop with rivet | 5-6 oz (2.0-2.4mm) | Full-grain preferred | Substantial, maintains shape |
| Double-layer charm | Two layers of 2-3 oz | Top-grain or veg-tan | Refined, slightly flexible |
Leather Weight Quick Guide:
- 3-4 oz (1.2-1.6mm) - Single layer flat fobs and tags
- 5-6 oz (2.0-2.4mm) - Folded loops with rivets, sturdy wristlets
- 2-3 oz doubled - Lined charms with refined edges
Thickness selection directly impacts hardware compatibility and construction methods. Thicker leather requires longer rivet posts, add 1-2mm to standard measurements when working with 5-6 oz material. Softer chrome-tan may stretch over time, so experienced makers often reduce wristlet length by 5-10mm to compensate for natural give during break-in.
Transform leather scraps into keychain gold by targeting pieces 30-40mm wide for wristlets and 25-30mm wide for tags and fobs. Align patterns to avoid grain defects and scars, positioning the cleanest leather sections where handling occurs most frequently, the loop area and hardware attachment points that define daily interaction. For more on how leather is made and its properties, see this external resource.
Keychain Pattern Formats: Paper, PDF, SVG & Laser-Ready Files

Printable PDF leather keychain templates work best for home crafters using knives and basic punches. Always print at 100% scale with "Actual size" selected, never "Fit to page", and verify accuracy using the included 25mm test square before cutting valuable leather.
Digital pattern files (SVG, DXF, AI) serve laser cutting, CNC applications, and design modification needs. These vector formats maintain crisp lines at any scale and typically use specific line weights (0.001-0.01 inches) with color-coding to distinguish cut lines from engraving marks.
| Format | Best For | Resizing | Required Tools | Precision Level |
|---|---|---|---|---|
| Hand cutting, beginners | Limited | Printer, knife, punches | Good | |
| SVG | Laser cutting, editing | Unlimited | Vector software, laser | Excellent |
| DXF | CNC, CAD integration | Unlimited | CAD software, CNC | Excellent |
Hand-drawn patterns offer organic curves and easy customization but may contain slight asymmetries. CAD-designed patterns provide perfect mirroring, precise hole spacing, and exact scaling capabilities. Choose hand-drawn for unique character and CAD-designed for repeatability and commercial production.
Start with PDF formats to test designs and techniques, then graduate to SVG files once your core leather keychain patterns prove successful. This progression builds skills systematically while avoiding the complexity of vector editing before mastering fundamental construction methods.
Hardware Basics: Designing Patterns Around Rings, Rivets & Clips
Common keychain hardware includes split rings (20-30mm), D-rings, snap hooks, lobster clasps, Chicago screws, and double-cap rivets. Split rings work universally for pocket fobs, while snap hooks excel for quick-release applications and D-rings provide clean attachment points for bag charms and wristlets.
Precise hole sizing prevents hardware failures and construction frustration. Standard 8mm double-cap rivets typically require 3-4mm holes, always check the post diameter rather than the cap size. Key ring slots need 2-3mm clearance on each side of the ring diameter to ensure smooth operation without binding.
Choose all-riveted construction for rapid builds and rugged aesthetics that complement outdoor adventures. Select hand-stitched methods for refined finishes and complete control over layer alignment. Hybrid approaches, rivets at stress points with decorative stitching elsewhere, balance speed with visual appeal.
Design for long-term strength by maintaining rivet centers at least 5-7mm from leather edges and avoiding ultra-narrow necks below 10mm near hardware attachment points. These margins prevent premature cracking and ensure your keychain develops character through use rather than failing from structural weakness. If you're interested in exploring more about leather card holder with AirTag options, we have a detailed resource available.
Step-By-Step: Making a Simple Riveted Leather Key Fob from a Free Pattern
Select a basic loop key fob pattern measuring 120-140mm length and 20-25mm width before folding. Use 5-6 oz full-grain or top-grain leather for optimal stiffness and durability in daily pocket carry. Bifold wallet projects are a great way to advance your leatherworking skills after mastering keychains.
Print the pattern at 100% scale and verify dimensions with the included scale reference. Tape the pattern grain-side up on your leather and trace lightly with a silver pencil or scratch awl, cutting just outside the marked lines to allow for final sanding to exact dimensions.
- Cut and prep edges: Use a sharp craft knife for clean cuts, then bevel edges with a #1 or #2 beveler where desired.
- Mark and punch holes: Center the rivet hole precisely and punch with a 3-4mm punch, dry-fitting hardware before proceeding.
- Finish edges: Dampen lightly, sand with 400-600 grit, apply pea-sized burnishing compound, and slick for a glossy finish.
Assembly & Finishing Your Riveted Key Fob

Bevel edges with a #1 or #2 beveler where desired, then mark and punch the rivet hole with a 3-4mm punch centered according to your pattern. Dry-fit the split ring and rivet to confirm perfect alignment before proceeding to edge finishing, this prevents costly mistakes on completed leather work.
Burnish edges by dampening lightly, sanding with 400-600 grit paper, then applying a pea-sized amount of burnishing compound per side. Slick for 30-60 seconds until edges achieve a glossy finish that will resist daily wear and develop rich patina over time.
Thread the leather loop through your split ring, align the punched holes precisely, and set the rivet using a hand setter with firm mallet strikes. Typically 3-5 controlled hits on a hard surface creates secure hardware installation without damaging the surrounding leather.
Add personal touches before final assembly: stamp 1-2 initials for identity, punch a secondary small hole for micro-charms, or apply a light coat of protective finish. These customizations transform basic leather keychain patterns into meaningful everyday companions that reflect your personal style and adventures. For more ideas on classic styles, see our article on the classic trifold leather wallet style.
Designing Your Own Leather Keychain Pattern from Scratch
Start with function rather than aesthetics. Decide between pocket carry (maximum 90mm overall length), wrist carry (150-180mm), or bag charm applications. This functional foundation prevents beautiful designs that prove impractical for intended use.
Sketch on 5mm graph paper, drawing half the shape then folding for mirror symmetry. Maintain minimum 15-20mm width where hardware attaches to prevent stress concentration failures. Mark fold lines, hardware centerlines, and stitch hole placement with 4mm spacing from edges.
Test initial concepts in cardstock or 1-2 oz leather scraps before cutting premium materials. Time your build process, if a "simple" fob requires over 30 minutes, simplify by reducing curves, eliminating holes, or streamlining construction steps.
Convert successful hand sketches to digital files by photographing or scanning, then importing into vector software like Illustrator or Inkscape. Trace paths accurately and set real-world scale using a 100mm reference line. Save both master templates for editing and printable PDF versions for immediate use. If you're interested in exploring more about keychains and their history, this external resource provides additional context.
Working with Digital Patterns: Printing, Scaling, and Laser Cutting
Print PDFs at 100% scale with "Actual size" selected, never "Fit to page" which distorts dimensions. Verify accuracy using printed 25mm test squares before cutting valuable leather, as even small scaling errors compound into unusable patterns.
Resize existing patterns in 5-10% increments for minor adjustments like accommodating larger key rings. For length-only changes, adjust single dimensions in graphics editors rather than proportional scaling that affects both length and width unnecessarily.
Converting Paper Patterns to Digital
Scan at 300-600 DPI, vector-trace in software, assign cut (usually red) and engrave (blue) stroke colors. Account for 0.1-0.2mm laser kerf by adding 0.2-0.4mm to tight-fitting slots.
Laser cutting requires attention to kerf, the material removed by the cutting beam. Patterns designed for hand cutting may need slot adjustments when transferred to laser systems. Use masking tape and proper ventilation to minimize soot marks on lighter leather finishes. For a selection of wallets variants that pair well with your handmade keychains, explore our curated collection.
Decorative & Personalization Patterns: Monograms, Stamping & Tooled Designs

Scale monograms appropriately: 8-12mm letter heights work on small fobs, while 12-18mm suits wristlets. Position letters at least 5mm from edges and hardware to prevent interference during assembly and use.
Mark dedicated "design zones" on patterns for stamping and embossing. Moisten veg-tan leather evenly and stamp within 1-2 minutes while the surface remains cool and slightly darkened for optimal impression depth and clarity.
Advanced tooling requires 5-6 oz veg-tan leather with carved panels positioned away from tight folds to prevent cracking. Allow carved pieces to dry 8-12 hours before applying dye and proceeding with assembly, rushed timing leads to blurred details and uneven coloration.
Textured leathers like Saffiano, Crazy Horse, and Buffalo can replace traditional tooling through strategic pattern design. Focus on clean geometric shapes and simple silhouettes, as deep stamping becomes less visible on heavily textured grain surfaces. For those interested in unique looks, our 2 ID wallets offer both style and function.
Finishing Techniques: Edges, Dye, and Hardware That Age Beautifully
Follow proper edge finishing sequence: trim, bevel, sand (220-600 grit progression), burnish, then optional wax. Dedicate 30-90 seconds per edge for burnishing, depending on compound type and leather characteristics, patience here determines long-term edge durability.
Dye components before assembly in multi-layer designs, carefully masking contact areas where adhesive will be applied. Antiquing around stamped details makes monograms and decorative elements more prominent while adding visual depth to finished pieces.
Practice hardware installation on scraps, set 2-3 test rivets or snaps before working on finished leather keychain patterns. Ensure post length exceeds stacked leather thickness by only 1-1.5mm to prevent mushrooming or loose connections that compromise security.
Apply protective finishes sparingly: pea-sized amounts of balm or conditioner per key fob side, buffed after 5-10 minutes. For more inspiration on pairing your keychains with other accessories, explore our top sellers for men for the latest in leather craftsmanship.
Frequently Asked Questions
What are the essential elements included in a leather keychain pattern and why are they important?
A leather keychain pattern includes the cutting outline, hole spacing, hardware placement marks, fold lines, and grain direction arrows. These elements guide precise cutting, stitching, and assembly, ensuring the keychain is functional, durable, and visually balanced.
How do different leather types and thicknesses affect the feel and durability of a leather keychain?
Leather type and thickness influence a keychain's strength, flexibility, and aging process. Thicker, full-grain leather offers rugged durability and develops a rich patina over time, while thinner or top-grain leathers provide a softer feel but may wear differently, affecting the keychain’s longevity and character.
What are the benefits of using digital leather keychain patterns compared to traditional paper patterns?
Digital patterns offer convenience through easy printing, scaling, and compatibility with laser cutting, allowing for precise and repeatable results. They also enable quick adjustments and sharing, making the crafting process more efficient and accessible.
How can beginners use leather keychain patterns to develop foundational leatherworking skills?
Beginners can use leather keychain patterns to practice essential skills like clean cutting, accurate hole punching, and hardware installation. These small projects build confidence and introduce how quality leather evolves with daily use, laying the groundwork for more complex leather goods.